UCB Internal Notes on GNSS units available here
A PDF of the Arcpad 10.02 manual (750 pages) is available online here
Make sure Bluetooth and Wi-fi are turned off if not in use for maximum battery life.
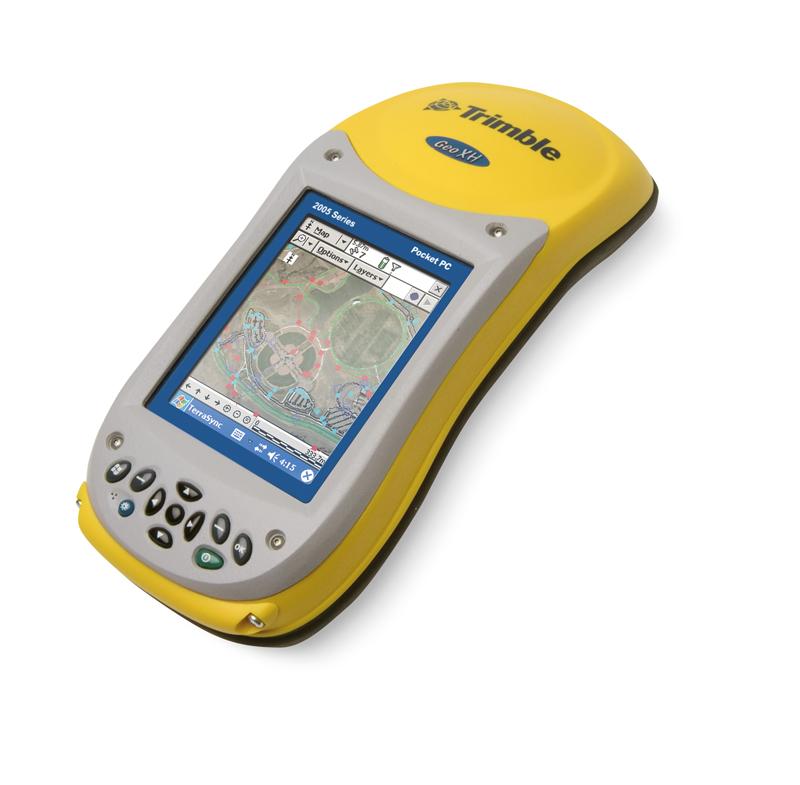
The ARF owns 2005 and 2008 GeoXH GPS units as well as 2011 GeoXH 6000 units (listed separately). Users have been experiencing problems where they can't get the units to turn on and what is needed is a hard reset.
PDF describing the 2005 GeoXH Hard Reset
Soft reset: hold down power button for 15 secs and if problems persist try 60 secs.
Hard reset: see Getting started manual. GPS software will have to be reinstalled.
PDF describing the 2008 GeoXH Hard Reset
Soft reset: press recessed button on left side of button pad
Trimble GeoXH GPS Unit Specifications
- Real-time H-Star technology for decimeter to subfoot accuracy in the field
- WAAS (North America), EGNOS (Europe), post-processed accuracy <30cm
- 520 MHz processor
- 128 MB RAM
- 1 GB of onboard storage
- SD slot for removable storage cards
Software available on all three GeoXH units
Computer software available for analysis of field data (windows)
One set of the following equipment was purchased with these GPS units
- Protective Trimble hard case
- Two 30 hour external batteries for supplemental power
- DC adapter (cigarette lighter adapter) charge cable
Shutdown for storage of 2005 GeoXH units
If you are not going to use the handheld for some time ( for example, three months or more), Trimble recommends that you partially charge the battery and then turn off the handheld instead of leaving it in Suspend mode.
To prepare the GeoExplorer 2005 series handheld for storage:
- Transfer any data that you need to a desktop computer.
- Charge the battery to approximately 30% and then remove the handheld from the support module.
- Hold down the Power button until the handheld turns off (about 15 seconds). The screen will flash and perhaps start to Scan Disk but continue to hold the Power button until it the screen fades out.
- Store the handheld at room temperature.
Shutdown for storage of 2008 GeoXH unit.
Hold down the power button for a few seconds and four buttons will appear. Choose Shut Down and the unit will powder completely down.
The following configuration is used during software reinstallation.
- Fill in Owner Information on front screen including institute name and phone and email.
- Install Trimble Terrasync from Windows using our activation code. Use the Trimble Installer because the Trimble software activation follows the actual WinMobile install step.
- Configure Terrasync (5.30): Launch. Choose Setup > Logging Settings: Antenna Height = 1m (handheld). Point/vertex Pause: 1sec (averages 2 positions per point). Real-Time Settings: Choice 1 = Integrated SBAS, Choice 2 = Uncorrected GNSS (enables WAAS support in North America).
- Arcpad. Using the ESRI Arcpad Deployment application (if it's the first time on the PC or just check boxes in Add/Remove Programs if it's not) install ESRI Arcpad as well as Streetmap, Sample World Data, Arcpad Today Screen, NADCON and HARN tables (for North American users), as well as Spanish Language Pack. Also install VBScript and and SQL Server 2005 software (these will require a restart of the GPS).
- Install Trimble GPSCorrect for Arcpad using the Trimble installer so that the Activation code can be entered and the activation file installed. Do not load any LANGUAGE DLL files or your GPSCorrect will be entirely in that language with no option to switch (this will require a reinstall to remove!).
- Launch ESRI Arcpad, enter our serial number on first screen so it's not in Demo mode. Open GPS Preferences and confirm that Trimble GPSCorrect is the protocol. Choose the Capture tab to Enable Averaging, Points: 50, Vertices: 5, Postion: 2, Distance Interval: 3m. Choose Quality tab and enter Non-Compulsory Warnings and check Maximum PDOP of 6. GPS Height tab, Antenna height= 1m (handheld mode).
- Configure Trimble GPSCorrect inside Arcpad: Click GPSCorrect icon, choose Setup menu, Logging Settings: GNSS to SSF = On, Real-Time Settings: Choice 1 = Integrated SBAS, Choice 2 = Uncorrected GNSS.